
Learn how to integrate Anonymous Proxies datacenter and residential proxies with the Vision anti-detect browser to run multiple accounts safely.
HTTP Proxies are handling HTTP requests towards the internet on behalf of a client. They are fast and very popular when it comes to any kind of anonymous web browsing.
SOCKSv5 is an internet protocol that is more versatile than a regular HTTP proxy since it can run on any port and traffic can flow both on TCP and UDP. Useful in games and other applications that do not use the http protocol.
Vision is an antidetect browser built for people who run many accounts and traffic sources from a single machine, but do not want platforms to link everything together. It generates a separate browser fingerprint for every profile, so each one looks like a unique real device with its own environment, cookies, and browsing history.
It is a popular choice for affiliate marketers, arbitrage and betting teams, e-commerce sellers, crypto users, and anyone who needs to work safely with large numbers of logins. Instead of juggling different physical devices or constantly cleaning up one browser, you organise everything inside Vision and let it handle the technical side of fingerprinting and session isolation. Also, Vision is available for all major desktop platforms, including Windows, macOS, and Linux.
Vision comes with a proper trial of 4 days of full access, with up to 10 profiles and 3 users. To get the most out of it, we recommend using it with our residential proxies, so each profile runs on a clean household IP in different locations and you clearly see how your future production setup will perform.
Before you touch anything in Vision, log in to Anonymous Proxies dashboard and grab your proxy details. If your want to use authentication inside Vision, don't forget to enter the username and password, and if you want to skip this part, you can whitelist your device’s IP in our dashboard.
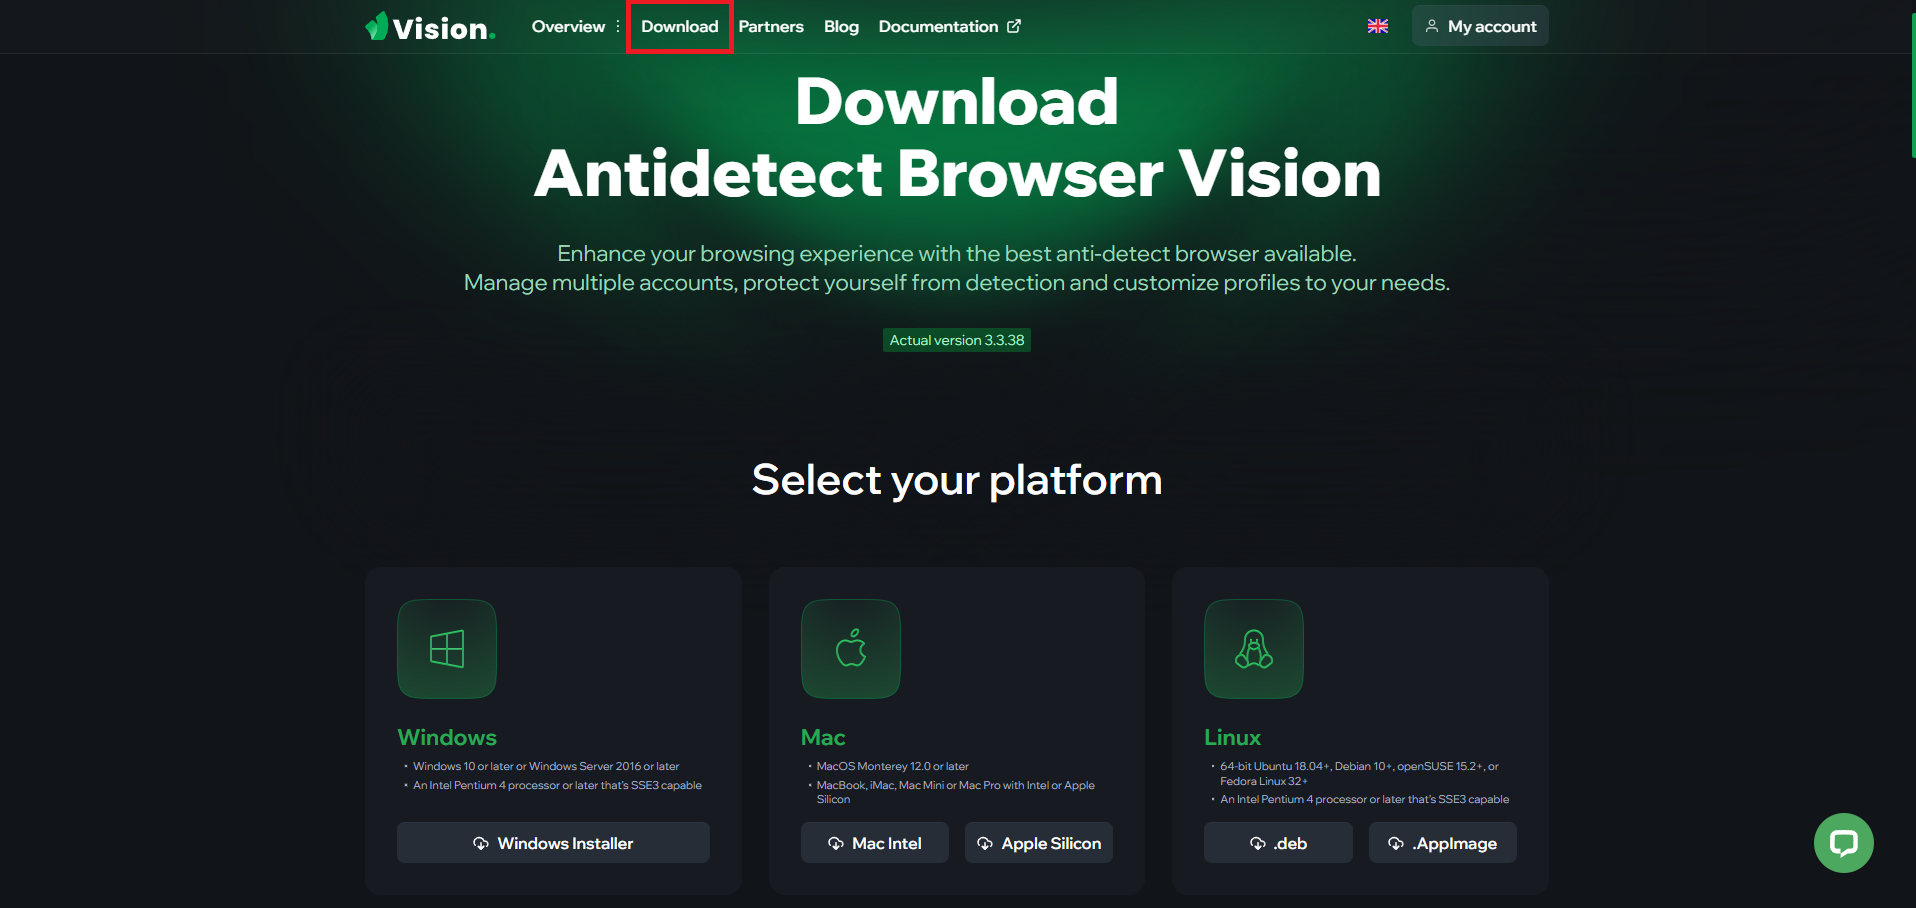
Now, for the beginning, go to the Vision website, open the Download section, and choose the version that matches your operating system.
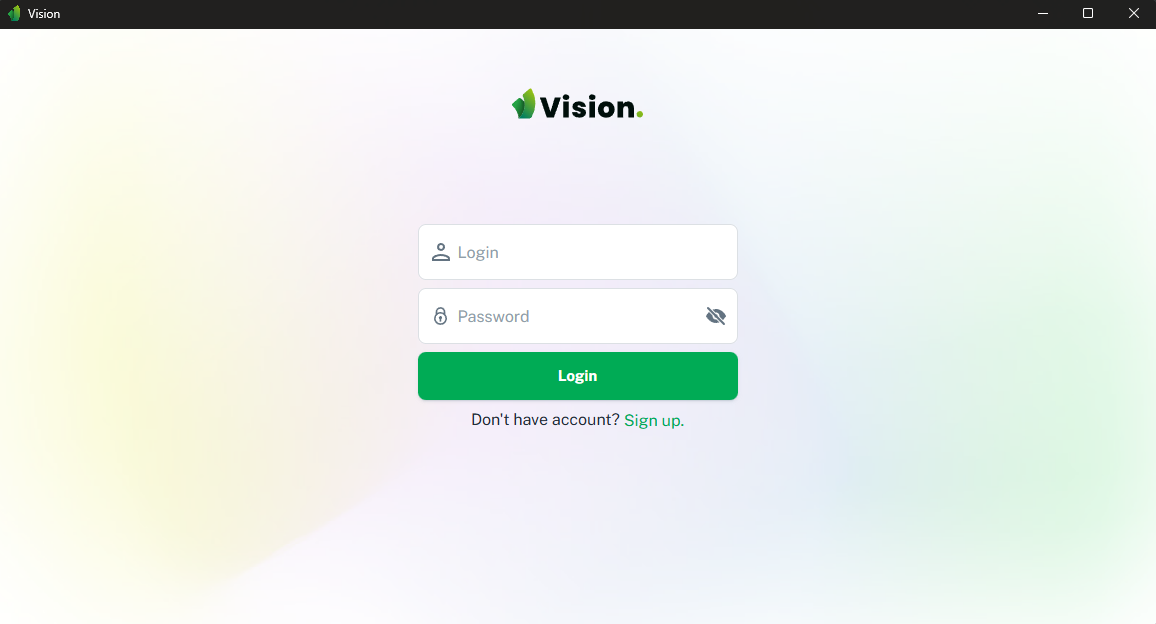
When Vision opens, you will see the login screen. Sign in with your Vision account, or create one if you are new. After logging in, you will be taken to the main dashboard.
Once you are on the dashboard, on the left side, click New folder and give it a name like “Anonymous Proxies”. This will help you to keep all profiles that use our proxies neatly organised in one place.

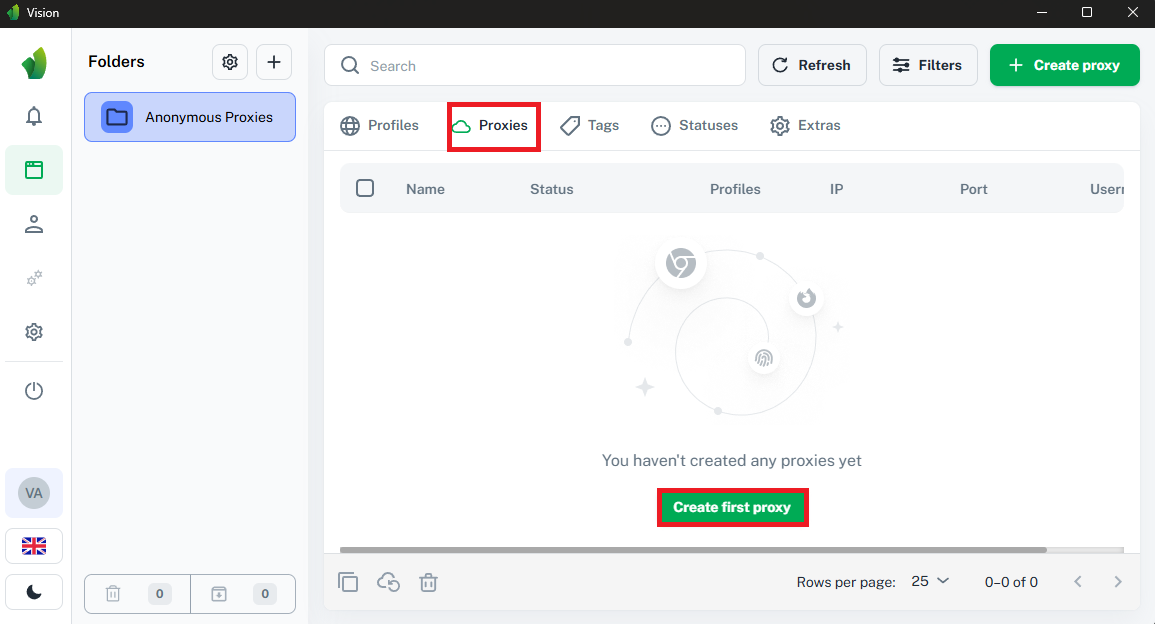
Once you created the folder, switch to the Proxies tab and click Create first proxy or Create proxy.
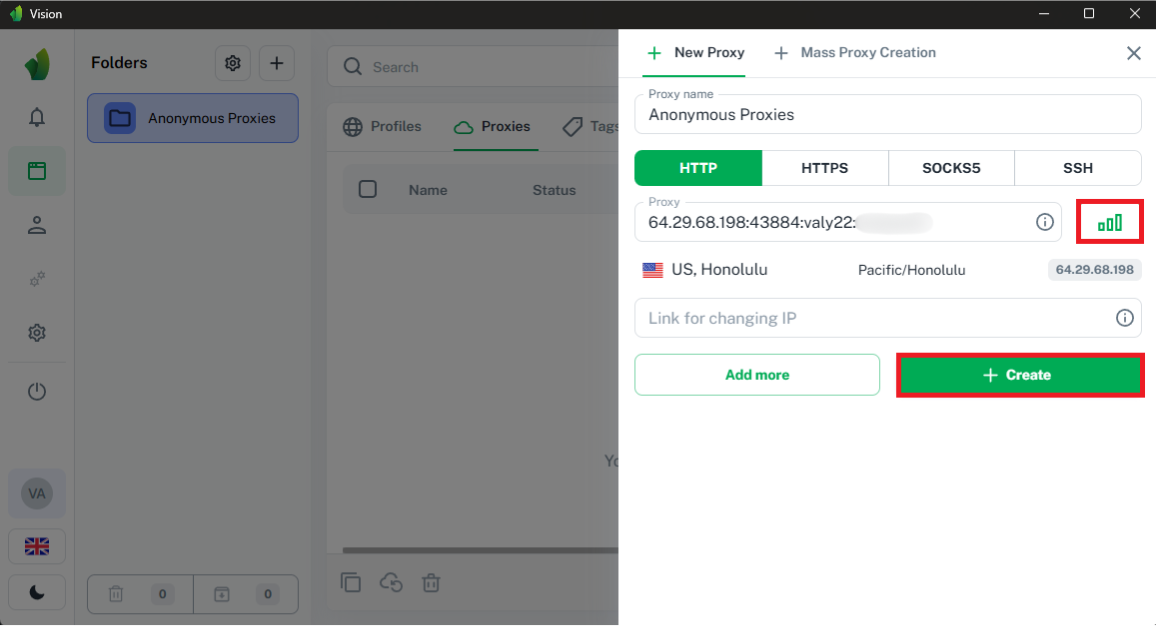
Enter a clear proxy name, then paste your proxy details from the Anonymous Proxies Dashboard dashboard in the format IP:PORT:LOGIN:PASSWORD and then choose the protocol of the proxy that you'll use.
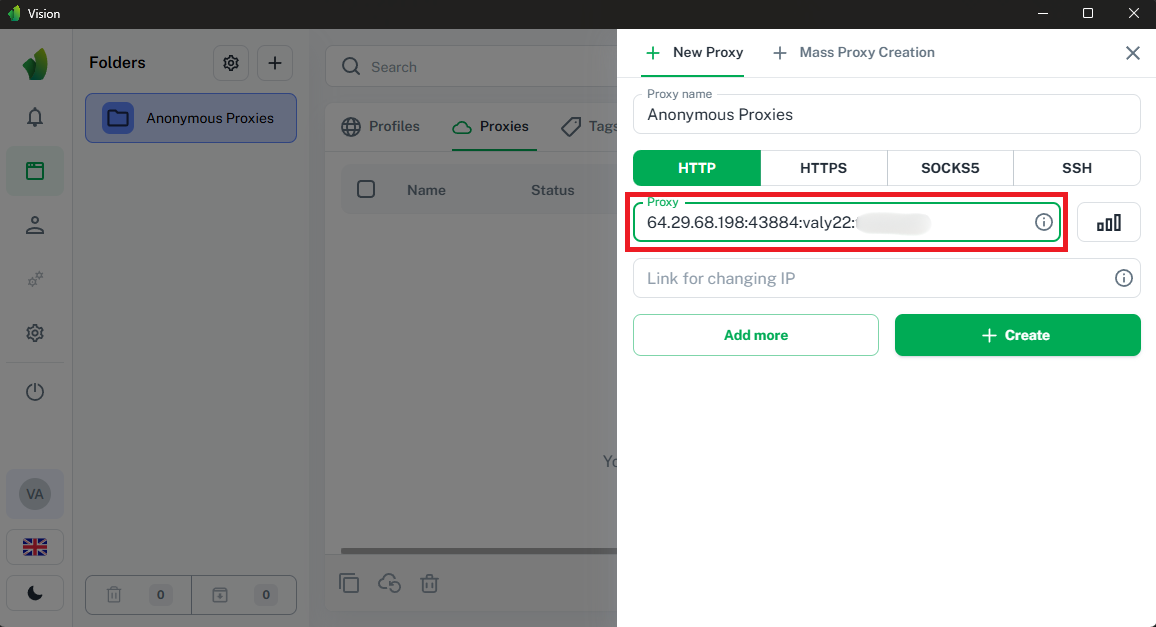
After you entered all the required details, click the test icon to check your connection. If the test passes, then you'll need to click on Create.
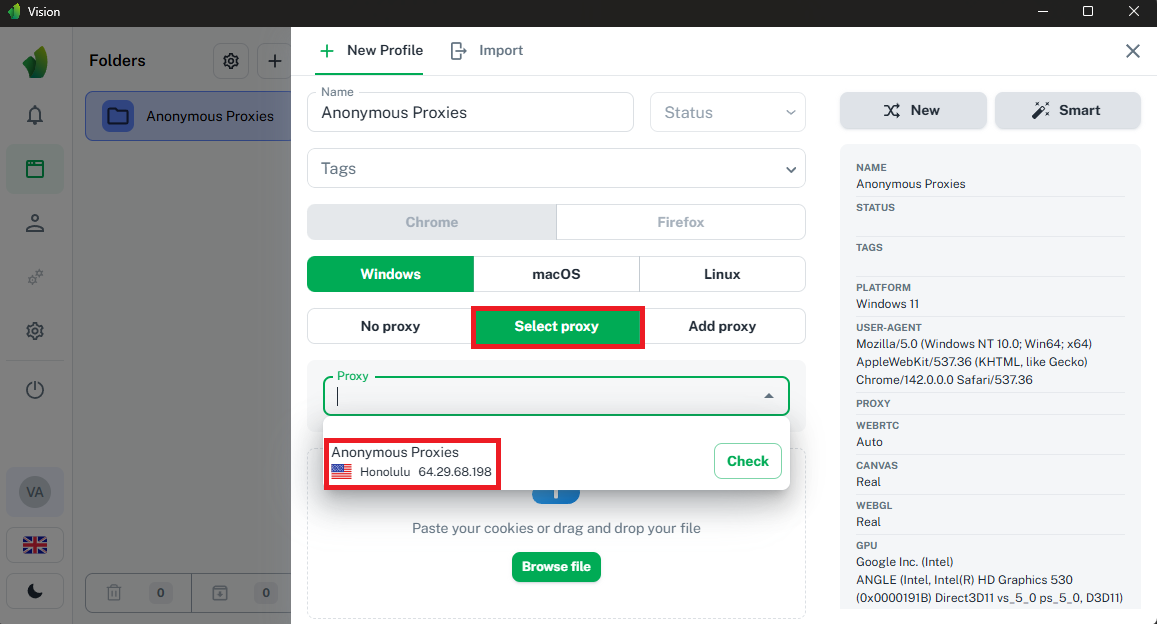
Now, we will need to create a profile in which we will add our proxy. To do this, you'll need to go to the Profiles tab and click Create profile. Give your profile a name, pick the platform (for example, Windows), click on Select proxy and select the proxy we've just added.

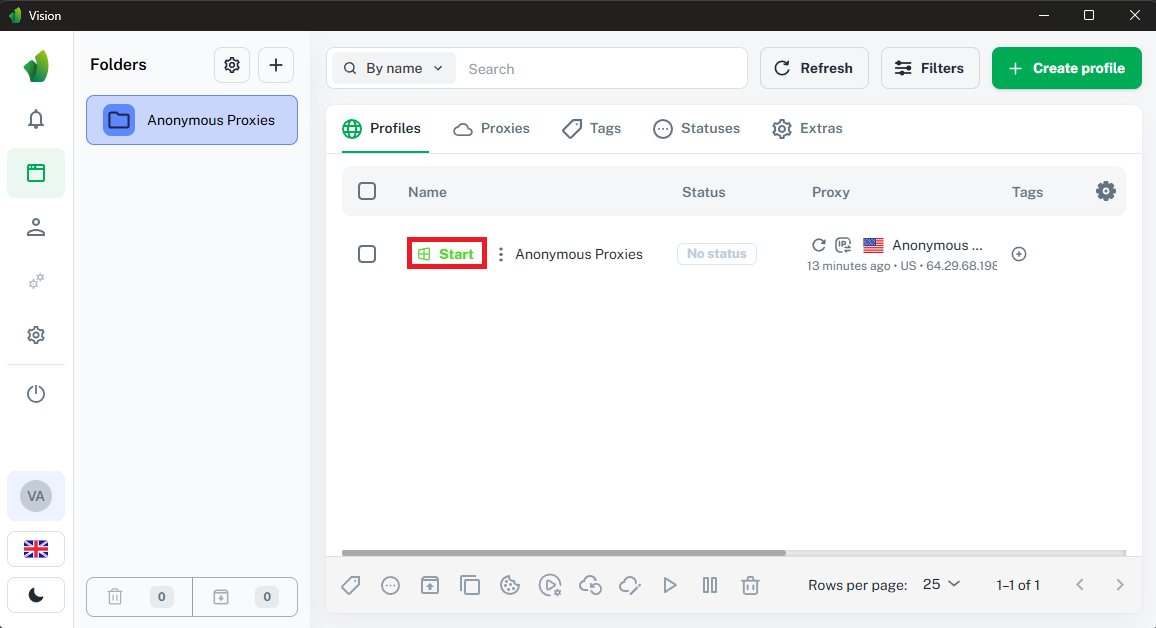
Once you did this, scroll down and click on Create profile to save it.
After you save it, you'll be taken to Profiles list. Now, you just need to click on Start to run your configured profile.
As you've seen above, Vision makes multi account work feel much easier. You get clean, isolated profiles, realistic fingerprints, team features, and a simple interface that lets you scale without juggling devices or constantly wiping your browser.
If you want more integration tutorials with other third party tools, check out our integrations page. And if you ever have questions about setup, which proxies to use, or anything else proxy related, our support team is always here to help.
We offer highly secure, (Dedicated or Shared / Residential or Non-Residential) SOCKS5, Shadowsocks, DNS or HTTP Proxies.
DR SOFT S.R.L, Strada Lotrului, Comuna Branesti, Judet Ilfov, Romania
@2025 anonymous-proxies.net